
How To Upload HD Video To YouTube (And Stop Losing Quality!)
William Davis | Updated on 2025-10-16
You spent hours filming. You painstakingly edited every single frame. The final export? Absolutely stunning. Then you hit "Upload" to YouTube, and... yikes. Your crisp, beautiful high-definition footage suddenly looks grainy, muddy, and frankly, like potato salad. Sound familiar? We’ve all been there.
This isn't just bad luck. It’s YouTube compression doing its worst. But guess what? You can fight back. Mastering how to upload HD video to YouTube isn't rocket science; it's just knowing the secret handshake.
Contents
Why Your HD Video Looks Like Potato Salad on YouTube
You want your audience to see the detail, the color, the effort you put in. But YouTube is a massive platform, and it needs to save space. They take your massive, high-quality file and smash it into a much smaller one. That smashing process? That’s compression.
The Quality Trap: Understanding YouTube Compression
Think of it like packing a suitcase. You shove everything in, and while it all fits, it’s now a crumpled mess. YouTube uses codecs like AVC (H.264) for standard HD videos. When you upload high-quality video to YouTube, the platform re-encodes it. If your file wasn't optimized before you uploaded it, the re-encoding will destroy your quality. You lose detail. You get "artifacting." You need to feed YouTube exactly what it wants.
The Difference Between HD and "Real" HD
You might think 1080p is 1080p, right? Wrong. When you see a really crisp video on YouTube, especially 4K videos, they are processed using the superior VP9 codec. YouTube reserves VP9 for videos they deem "high-quality," usually based on resolution, framerate, and—crucially—bitrate. If you only upload 1080p, YouTube might stick you with the lower-quality AVC codec. Want that VP9 goodness? You have to give YouTube a massive, uncompressed-looking file. This is the key to successful HD YouTube upload.
Mastering the Pre-Upload Checklist for Crisp HD
Before you even think about dragging that file into your browser, you need to check these boxes. These are the non-negotiables for anyone serious about how to upload HD video to YouTube and retain maximum quality.
The Right Specs: YouTube's Golden Standard for HD
YouTube has ideal standards. Ignore them at your peril. Your resolution should be 1080p (1920x1080) or higher—seriously, consider 1440p or 4K to trigger VP9. Your aspect ratio should be 16:9. Framerate? Keep it consistent: 24, 25, 30, 48, 50, or 60 frames per second. Never use variable framerates. YouTube hates that.
Encoding Like a Pro: Settings That Matter
This is where the magic happens. Use the H.264 codec. The most important number, though, is the bitrate. This is how much data is packed into your video. Your editing software default is usually too low. For 1080p at 30fps, YouTube recommends 8 Mbps. Scoff at that. You should be exporting at 10-12 Mbps minimum. For 4K 60fps? You need a beastly 68 Mbps. High bitrate is the insurance policy for your high-quality YouTube uploads.
A Hidden Weapon: The Case for a Killer Converter
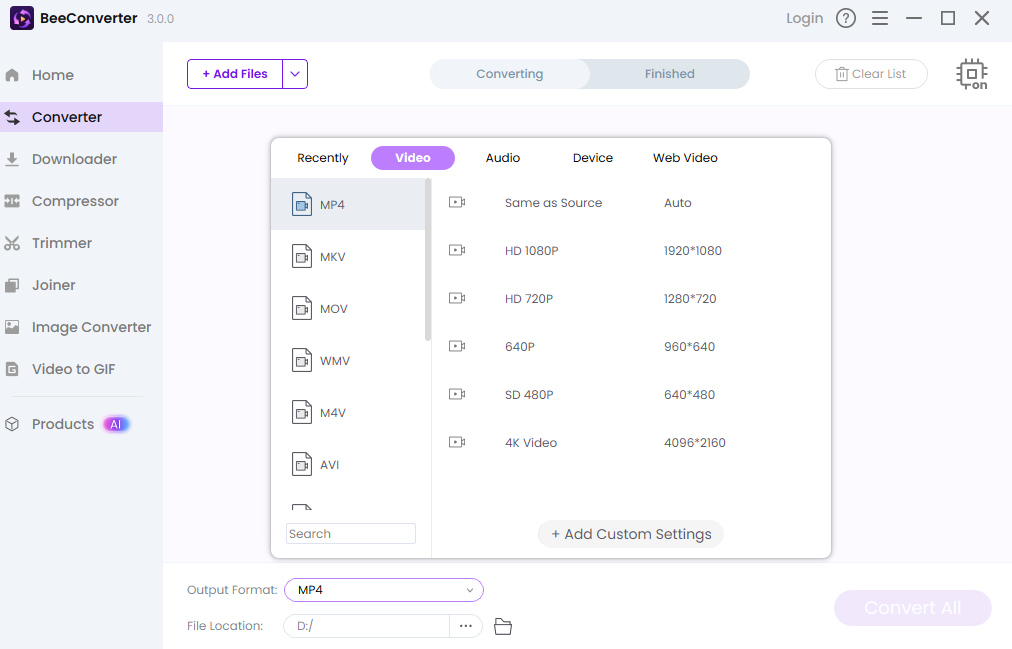
What if your editing software doesn't give you the granular control you need over codecs and bitrates? Or what if you're dealing with a weird file format? This is where a powerful tool like BeeConverter comes in. You need to guarantee your video meets those demanding specs perfectly. BeeConverter is a fantastic way to make sure your file is H.264, has the right resolution, and, most importantly, allows you to customize that critical bitrate. Stop guessing and start converting with precision. It’s a crucial step to ensuring your video is ready to be an HD YouTube video winner. Check it out and stop wrestling with confusing export settings.
Step-by-Step: The Best Way to Upload Your HD Masterpiece
Okay, the file is perfectly optimized. Now, let’s get it online.
The Simple Upload Process: Hitting the "Create" Button
Go to YouTube Studio, click "Create," and "Upload Videos." Simple enough. Make sure you select the highest quality file you have. Don't re-render or re-compress it before uploading. Let YouTube do the final heavy lifting. Remember to use a title and description rich with keywords so people can actually find out how to upload HD video to YouTube masterpiece!
The Patience Game: Waiting for VP9 Processing
You’ve uploaded the file. It’s "processing." You can probably see the low-resolution versions (360p, 720p). Wait! Don't share it yet! YouTube processes the lower resolutions first. The 1080p and 4K versions, especially the desirable VP9 version, take much longer. For a 10-minute 4K video, this could be an hour or two. You must wait until you see the highest resolution available in the playback settings. This wait is absolutely essential for your video to be a true HD quality YouTube video.
Post-Upload Checks: Verifying That Glorious 1080p or 4K
Once the processing is done, load the video. Look at the gear icon in the corner. Can you select 1080p or 4K? Fantastic. Does it look sharp and clear? Now, check on a few different devices. Sometimes, people are just on slow internet, and that’s not your fault. But if it looks great on your fiber connection, you’ve done it! You’ve mastered how to upload HD video to YouTube.