Lock It Down: How To Make YouTube Videos Private (Secure & Easy)
William Davis | Updated on 2025-10-11
You just made an awesome video. But—plot twist—you don't want the whole world seeing it. Maybe it’s a rough draft, a surprise party clip, or a very personal rant. You need a digital bouncer. You need to learn how to make YouTube videos private. Forget complicated menus. This is quick. This is secure. Let's lock your masterpiece down, right now.
Why Bother Making Your YouTube Videos Private?
Here’s the deal: once something’s public, it’s basically permanent. Think of the internet as a giant, nosy crowd. The private setting is your VIP room. It's the difference between sharing a diary entry with a thousand strangers and showing it to just your best friend. A private video is only visible to you and up to 50 specific Google accounts you invite. It doesn’t show up in search results. It doesn't appear on your channel. It’s your secret. If you truly value control over your content, and who doesn't?—you must know the ins and outs of how to make YouTube videos private versus simply unlisted or public. This is content ownership 101.
Step-by-Step: How to Make YouTube Videos Private on Desktop
The desktop version, via YouTube Studio, gives you the most control. You want to secure your video? Head here first.
Hiding New Uploads: Before You Hit Publish
1. Upload: Drag your precious file onto the YouTube uploader screen.
2. Navigate to Visibility: As you fill out the Title and Description, click over to the "Visibility" section. It's the last step for a reason.
3. Select Private: Click the "Private" bubble. This is critical. Want to share it with your team or family? Click "Share Privately" and type in their Google account emails. This ensures you've set up how to make new YouTube videos private before the public even knows it exists. It’s prevention, not damage control.

Locking Down Old Content: Changing Privacy Settings
Did you upload that video of you attempting to rollerblade five years ago? Time to make it disappear.
1. Launch YouTube Studio: Log in and click "YouTube Studio." You'll live in this dashboard, trust me.
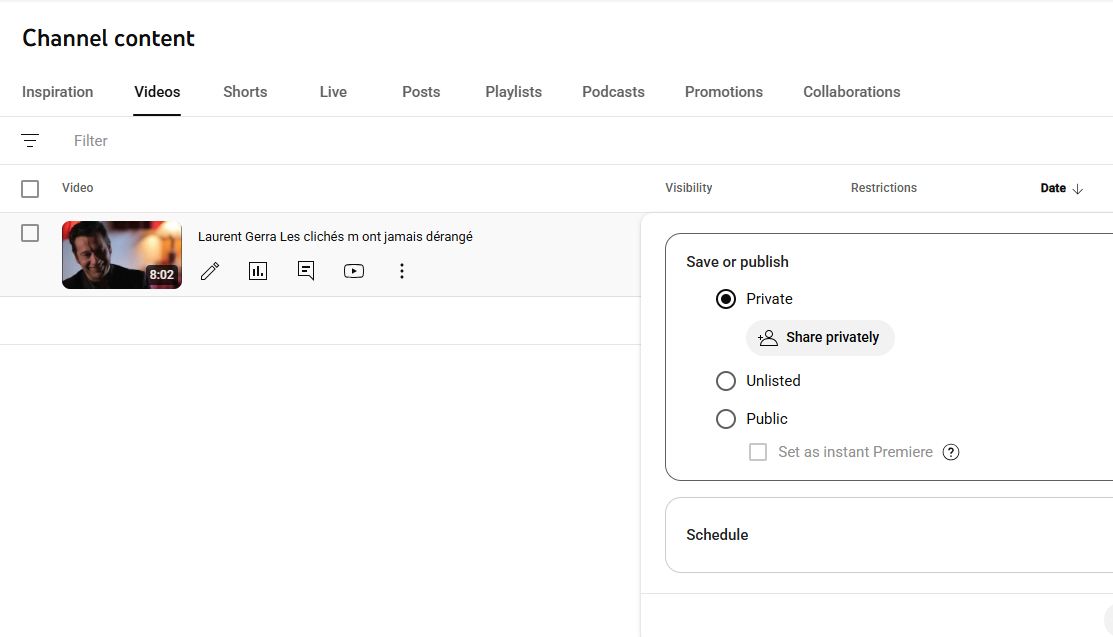
2. Find "Content": This is your video catalog. Find the video you now regret.
3. Edit Details: Click the pencil icon next to the video. This opens the details page.
4. Set to Private: Look on the right-hand side. There’s a box with your current visibility. Click the drop-down menu and select "Private." Don't forget to hit "Save" at the top right. Congratulations! You just mastered how to make uploaded YouTube videos private and erased a digital ghost. Feels good, right?
Mobile Mania: Making Videos Private on the YouTube App
Life happens on the run. If you uploaded something directly from your phone and need an emergency lockdown, the app is your friend. It’s surprisingly simple.
The Quick Fix: iPhone and Android Steps
Grab your device. These steps work for both.
1. Open the App & Go to Library: Tap the YouTube app, then find "Library" (usually bottom right).
2. Select "Your Videos": This shows everything you've ever uploaded.
3. Spot Your Target: Locate the video you need to make disappear.
4. Tap the Menu: Hit the three vertical dots ($\cdot$$\cdot$$\cdot$) next to the video title.
5. Edit Visibility: Choose "Edit." Scroll down to "Visibility." Change the setting from Public or Unlisted to Private. Save your changes. Done! You’ve learned how to make your YouTube video private while waiting in line for coffee. Efficiency is everything.
Bonus Tip: Securely Editing Your Private Videos (and Why You Should)
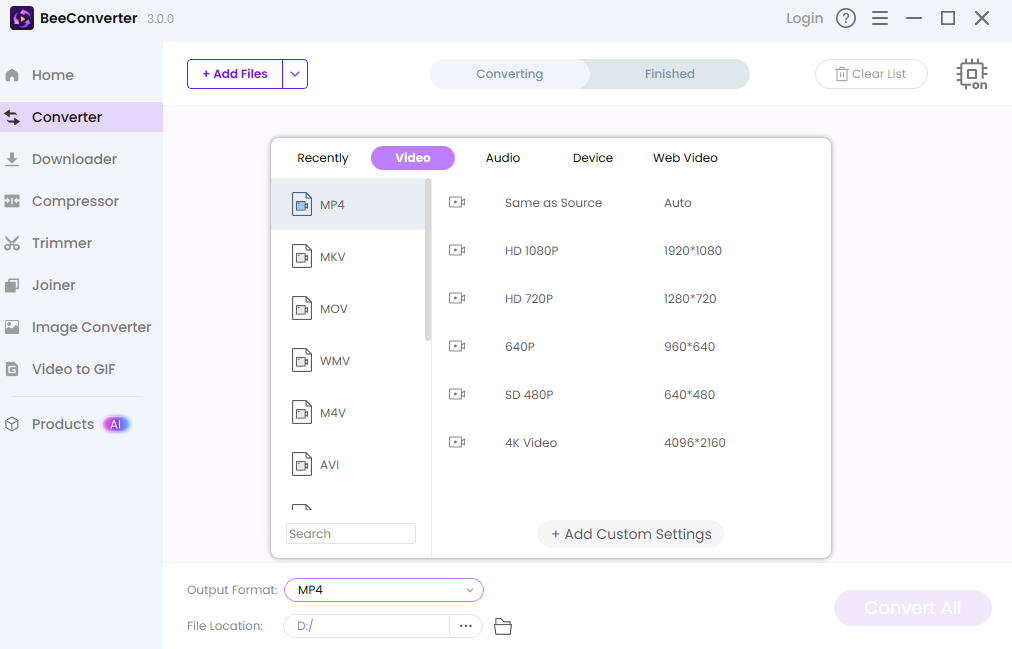
Let's talk pre-upload prep. Often, you want to make a video private because it needs major surgery—bad audio, wrong logo, whatever. Don't upload a bad take, delete it, and re-upload (that kills your momentum). A pro move? Edit locally before you ever click "Upload."
If you're dealing with big files, weird formats, or just need to trim a few crucial seconds out, you need a powerful, reliable tool. Check out Beeconverter. It's perfect for quickly converting videos, compressing huge files, or making those last-minute edits while the video is still safely private on your computer. Get your content polished to perfection before you even think about showing it to anyone. Quality control is non-negotiable, even for private content.