How To Change Audio Language in YouTube Videos
William Davis | Updated on 2025-10-22
Stop letting language roadblocks ruin your YouTube experience! Seriously. The best content—the truly groundbreaking tutorials, the hilarious vlogs, and the eye-opening documentaries—often isn't in the language you speak every day. You shouldn't have to settle for clumsy, auto-translated captions. Learning how to change audio language in YouTube videos is your fast pass to global content. It instantly upgrades you from a passive watcher to a true international viewer. Ready to unlock a world of knowledge with just a couple of clicks? You bet you are!
Contents
The Simple Steps to Change Audio Language on YouTube
Many people don't even realize this feature exists, which is crazy! It’s one of YouTube's coolest, but least-advertised, secrets. It’s not complex or hidden behind a paywall; it’s right there, assuming the creator played their part. If a video supports multiple audio tracks, changing the audio is like flipping a light switch. You can easily change audio language on YouTube.
Finding the Multi-Language Icon
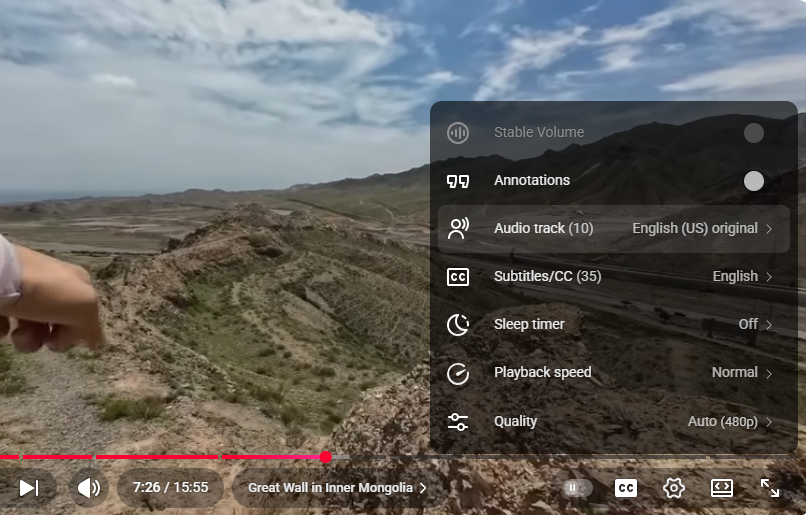
First, pull up a video. Look closely at the player controls at the bottom right. See that little gear icon? That’s your gateway to all things customization. Click it. A menu will pop up, showing options like "Quality" and "Playback Speed." You are hunting for one specific option: Audio Track. If you see Audio Track listed, congratulations! That video allows you to change audio language in YouTube videos. If it’s not there, the creator didn't enable it (more on that later).
Selecting Your Preferred Language
Now that you’ve found the golden ticket, click on Audio Track. A simple list will appear—maybe "Original (English)," "German," and "Japanese." Pick the one that sounds best to your ears. Bam! The voice track switches instantly. Imagine listening to a complex lecture in your native tongue instead of constantly reading subtitles. That’s the real value of knowing how to change audio language in YouTube videos. It allows you to absorb information faster and more completely. It’s ridiculously efficient, isn't it?
Troubleshooting: When the Option to Change Audio Track Isn't There
Let's keep it real. That magical Audio Track option isn't always available. You find a must-watch video, click the gear, and... nothing. No option to change audio tracks. Don't panic. There are solid reasons for this.
Creator Enablement is Key
Remember, YouTube doesn't magically create these extra tracks. The multi-language feature is a creator enablement tool. The person who uploaded the video must have recorded, dubbed, and uploaded all those separate audio files. If they didn't, you can't access them. It’s like buying a single-flavor ice cream cone; you can’t ask for chocolate if they only scoop vanilla! So, if you can’t change audio language in YouTube videos, you’re not doing anything wrong; the creator just hasn’t expanded their reach yet.
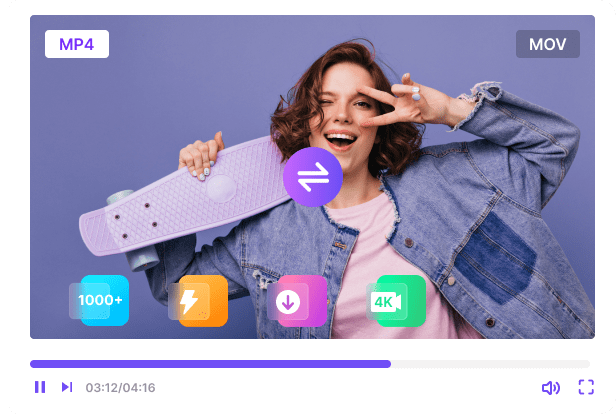
Alternative: Beeconverter for Download and Translation
So, what do you do when a video you desperately need doesn't offer multiple audio tracks, or you need to watch it offline, perhaps for a presentation or class? You need a workaround that puts the power back in your hands.
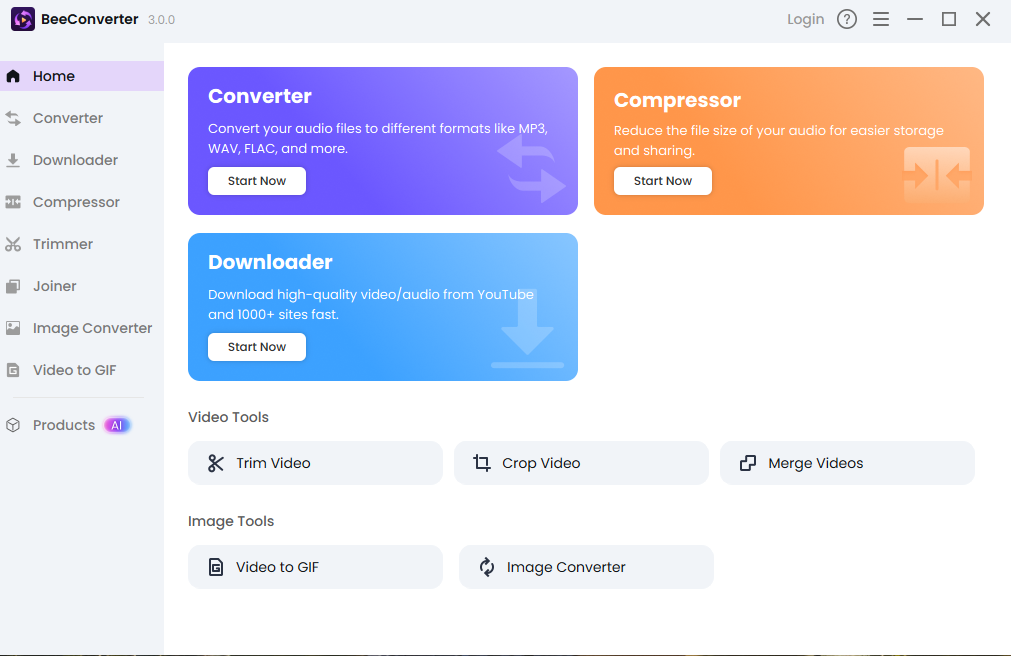
Meet Beeconverter, this tool is a serious game-changer for serious content users. Why? Because Beeconverter doesn't just download the video; it can also handle the multilingual challenge. You can download the video and the associated subtitles simultaneously. Better yet, if the video does have multiple audio tracks, Beeconverter allows you to select which specific audio track (language) you want to be included in your final downloaded file. This is the ultimate move when you need a permanent, multilingual copy. If you're compiling a library of tutorials, Beeconverter ensures you have the exact language version and subtitles you need, permanently bypassing the need to constantly check the YouTube settings for how to change audio language in YouTube videos while online.
How To Change Audio Language In YouTube Videos on Mobile vs. Desktop
You might be wondering if the process changes when you switch devices. Good news: it’s nearly identical. The user experience is smooth on any platform.
Mobile App Navigation
On your phone or tablet, tap the video screen once to bring up the overlay controls. Look for the three vertical dots (the ellipsis) or the gear icon in the top right corner. Tap that, and the settings menu pops open. Tap Audio Track, select your language, and you are done. That’s how easy it is to change audio language in YouTube videos while riding the bus or waiting for coffee.
Desktop Browser Experience
On a desktop, you use the familiar gear icon located in the bottom right of the video player. Click the gear, find Audio Track, and make your selection. Same steps, same instant result. Learning how to change audio language in YouTube videos is a universal skill now!
Conclusion
You are no longer stuck in a single-language viewing bubble. By understanding how to change audio language in YouTube videos, you've gained a valuable skill that opens up the entire world of YouTube content. Always check that gear icon for the crucial Audio Track setting first. And for those stubborn videos that lack the option, remember that tools like Beeconverter exist to give you the control you need to secure a permanent, correctly-dubbed copy. Go forth and enjoy your new multilingual freedom!